How to connect your Raspberry Pi to a WiFi network with raspi-config in Raspbian Stretch
When you own a Raspberry Pi with in-built WiFi or an attached USB WiFi adapter, you will be able to connect it to a WiFi network.
Given that WiFi connectivity, you can use then your Raspberry Pi as a HTTP server and/or a HTTP client on the Internet without using a network cable.
When you have installed Raspbian Stretch on your Raspberry Pi, you can use raspi-config to connect your Raspberry Pi to a WiFi network. For this purpose, you can follow the steps mentioned in this post.
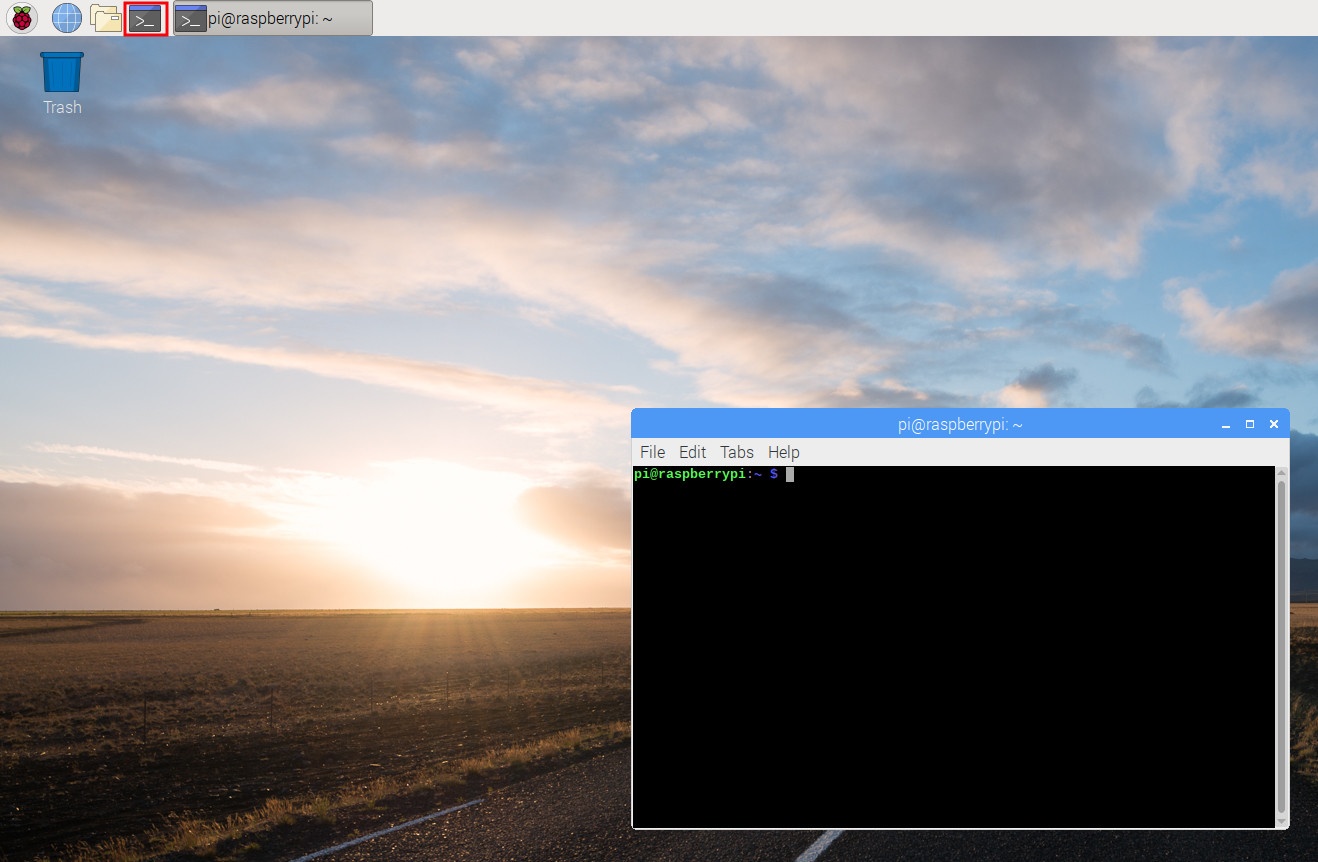
First, open a Terminal window by clicking on the highlighted icon at the top:
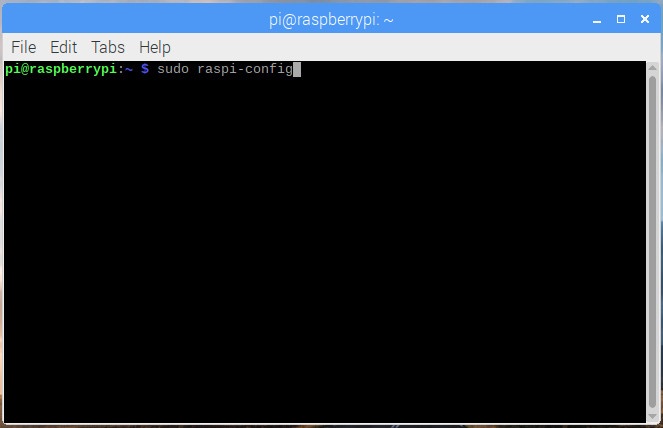
Once the terminal window had started, type the following command in the terminal window:
sudo raspi-config
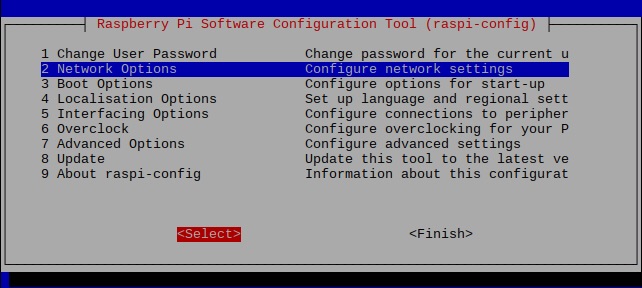
After raspi-config loads in your terminal, go through the following screens to connect your Raspberry Pi to a WiFi network:
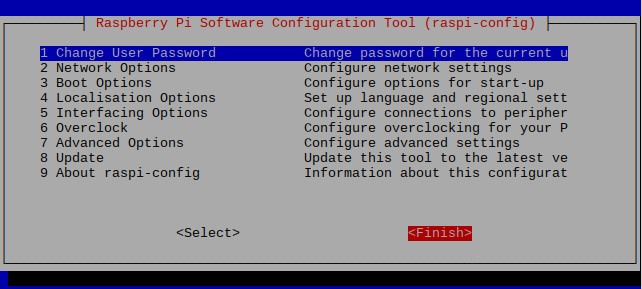
Select Network Options on the first menu of raspi-config:
When the Network Options menu loads, select Wi-fi:

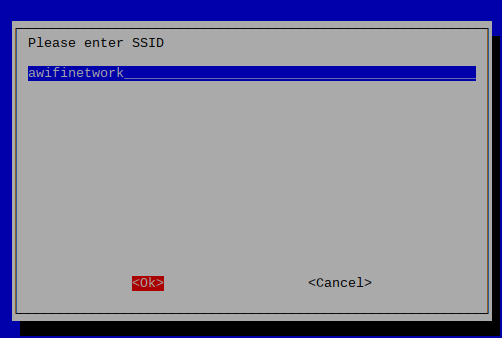
After you had selected Wi-fi, raspi-config will prompt for the SSID of the wireless network that you wish to connect to. Therefore, enter the SSID of the wireless network to connect to:
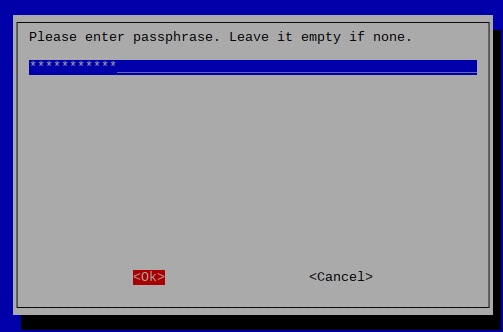
When raspi-config gets the SSID of the wireless network, it will prompt for a passphrase. In case the wireless network does not require a passphrase to connect to, leave the input empty. Otherwise, enter the passphrase for the wireless network that you wish to connect to:
When you had entered the passphrase, raspi-config returns to the first menu. At this point in time, select Finish to complete the configuration:
When you had done so, raspi-config prompts you to reboot Raspbian Stretch:

After your Raspbian Stretch reboots successfully, it will connect to the WiFi network that you had indicated.