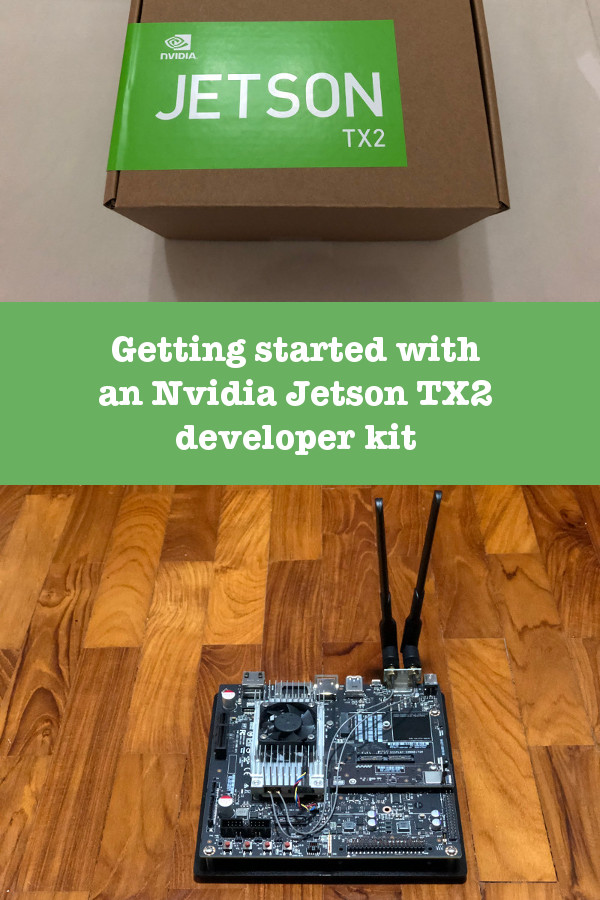
Getting started with an Nvidia Jetson TX2 developer kit
When we have the right amount of data, machine learning enables us to use them for building a model that can provide answers for future questions.
Compared to CPUs, a GPU is better suited for us to build that model. This is because a GPU is very good at performing much more computations in parallel.
Although you can build your own GPU rig for machine learning, an Nvidia Jetson TX2 developer kit is easier to setup and more energy efficient. Therefore, I got myself a Nvidia Jetson TX2 developer kit to ride on the machine learning bandwagon.
In case you are wondering what is in the box and how to get started with an Nvidia Jetson TX2 developer kit, read on to find out more.
Unboxing the Nvidia Jetson TX2 developer kit
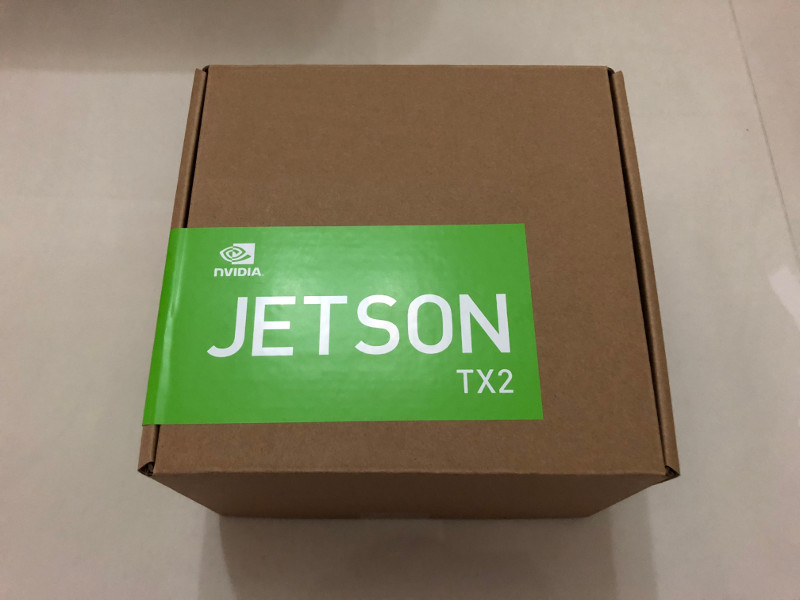
This is how the Nvidia Jetson TX2 developer kit may look like when you receive it from your postman:
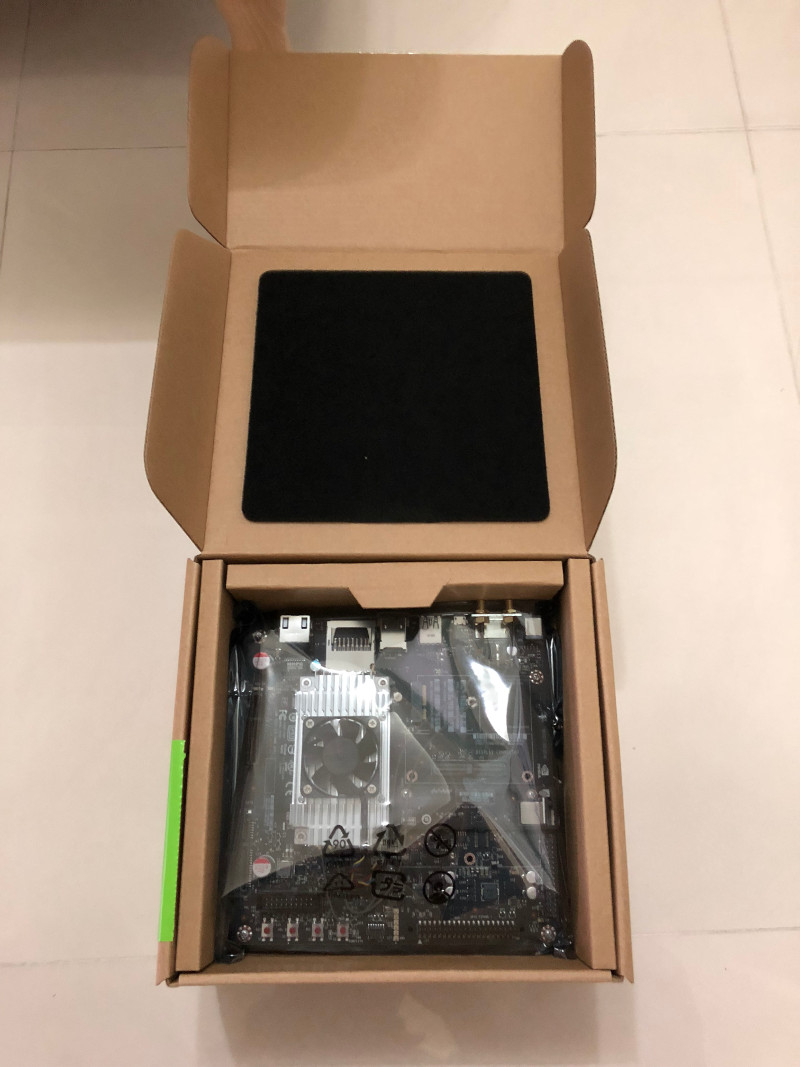
The developer board is the first thing that you will see when you open the box:
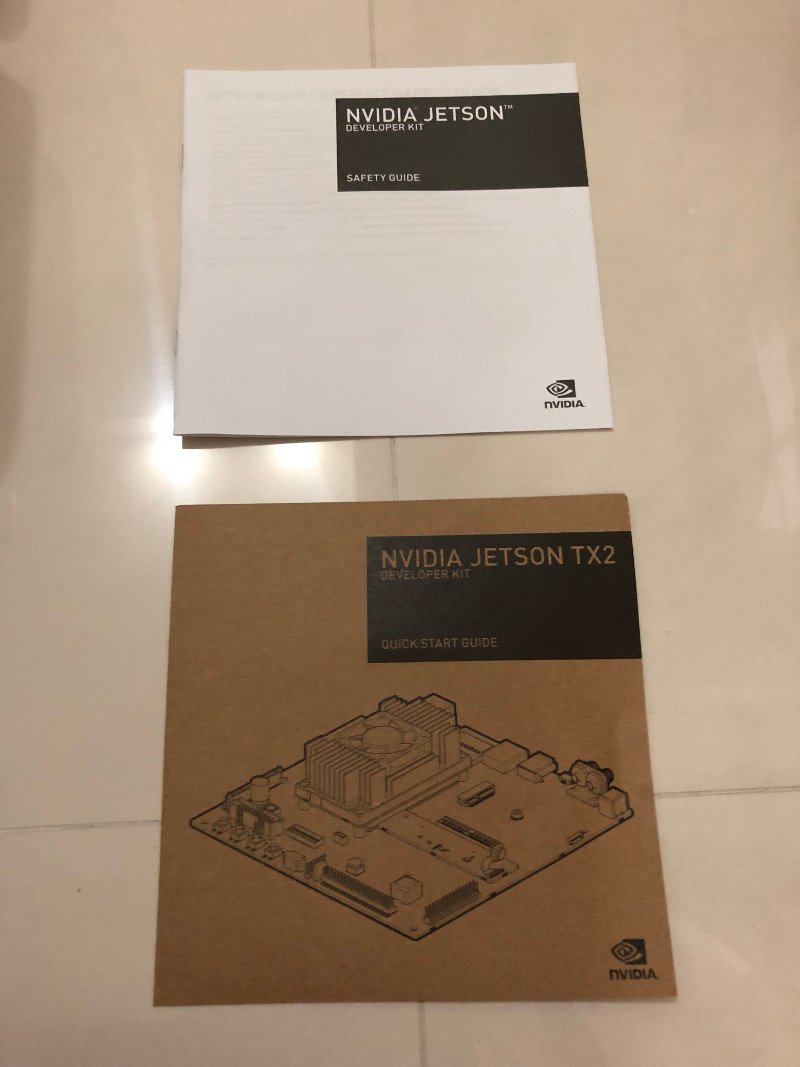
Underneath the developer board, you will find the safety guide and the quick start guide:
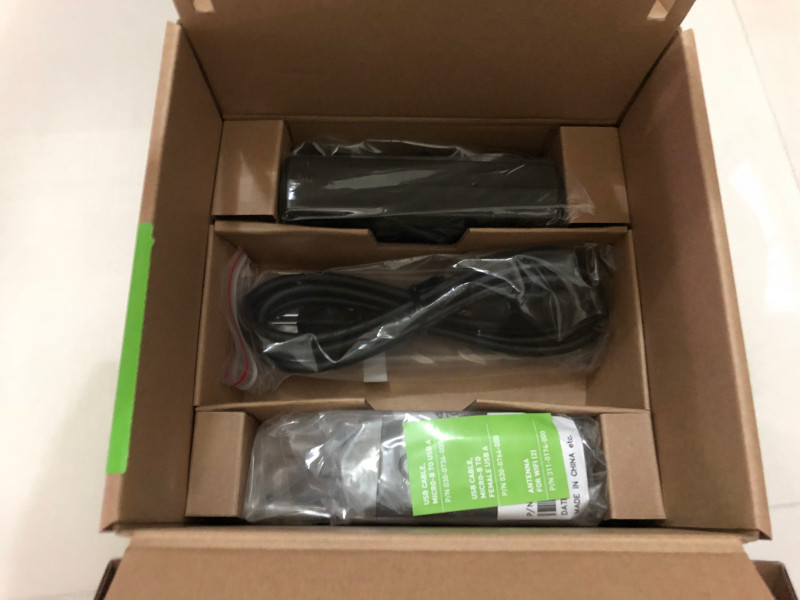
After you took out the safety guide and quick start guide, you will find the power cable, USB cables and antennas for your Nvidia Jetson TX2 developer kit in the inner compartment of the box:
In summary, these are the contents of a Nvidia Jetson TX2 developer kit:
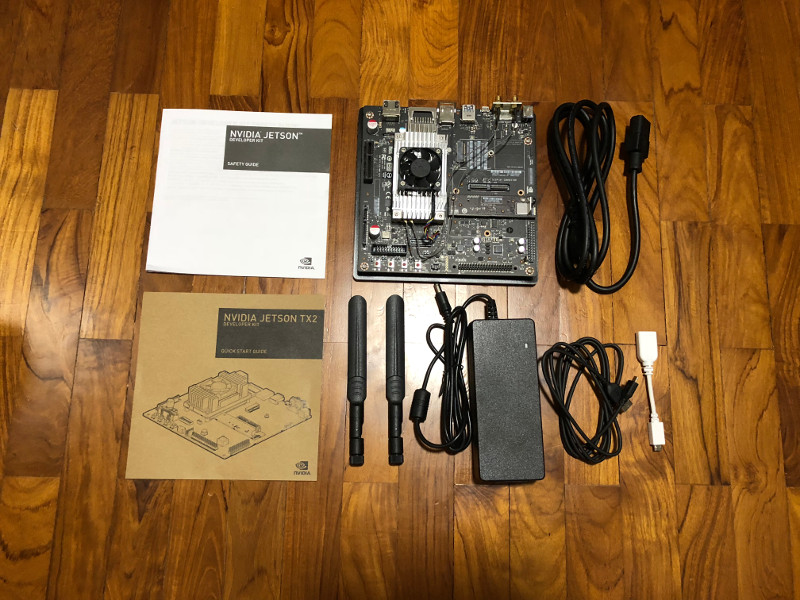
- NVIDIA Jetson TX2 Developer Board
- AC Adaptor
- Power Cord
- USB Micro-B to USB A Cable
- USB Micro-B to Female USB A Cable
- Quick Start Guide
- Safety Booklet
- Antennas to Connect to Wi-Fi-Enabled Devices (x2)
Additional hardware for getting started with Nvidia Jetson TX2 developer kit
To get started with your Nvidia Jetson TX2 developer kit, you will need the following hardware:
- A computer monitor with a HDMI cable.
- A USB hub.
- A keyboard
- A mouse
Optionally, you may want to get the following items as well:
- MITXPC MX500 Industrial Fanless Mini-ITX Case w/ WallMount Bracket & VESA Screws
- RJ45 Ethernet Cable
Starting up your Nvidia Jetson TX2 developer kit for the first time
The Nvidia Jetson TX2 developer kit came with a headless Ubuntu operating system. Therefore, we do not need to install an operating system in order to start it up.
Connecting the hardware
Firstly, connect
- the antennas to your Nvidia Jetson TX2 developer kit motherboard,
- the HDMI cable to your Nvidia Jetson TX2 developer kit motherboard,
- the power adapter to your wall socket and Nvidia Jetson TX2 developer kit motherboard,
- the mouse and keyboard to your USB hub,
- the USB hub to your Nvidia Jetson TX2 developer kit motherboard.
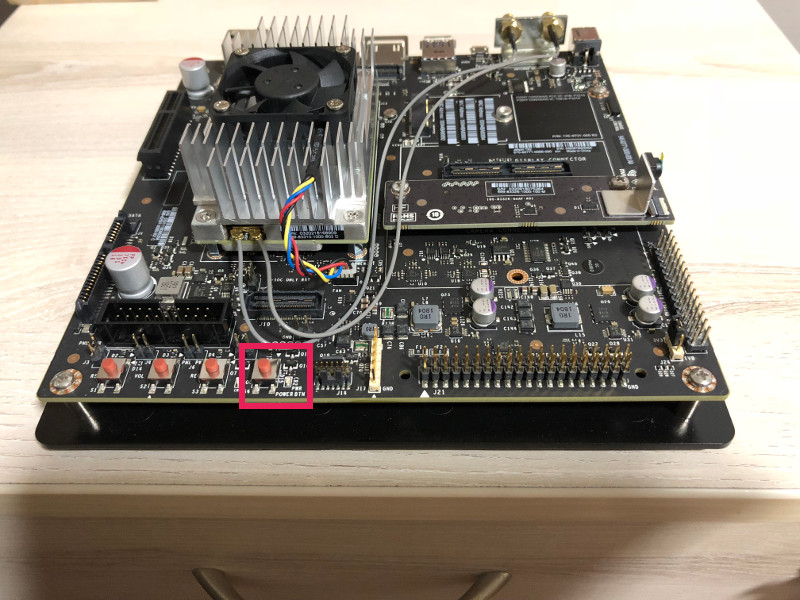
After switching on your wall socket, press the power button on the Nvidia Jetson TX2 developer kit motherboard. The power button is the rightmost button as shown in the following image:
Installing the Nvidia Linux driver binary release
When the headless Ubuntu operating system boots up, you will see a terminal screen with instructions to install the Nvidia Linux driver binary release.
Following the instructions, you will run the following commands:
cd ~/NVIDIA_INSTALLER/
sudo ./installer.sh
After the commands complete, you will have installed the drivers that are needed for running the Ubuntu desktop on your Nvidia Jetson TX2 developer kit.
In order to boot into the Ubuntu desktop, run the following command to restart the operating system:
sudo shutdown -r now
When the Ubuntu operating system loads up again, you will see the Ubuntu desktop on your computer monitor screen.
With that, your Nvidia Jetson TX2 developer kit is ready for running deep learning tasks.
Where to learn more about deep learning and using your Nvidia Jetson TX2 developer kit?
After you had gotten your Nvidia Jetson TX2 developer kit ready for running deep learning tasks, you can follow these resources to learn more about deep learning and using your Nvidia Jetson TX2 developer kit:
- Getting Started with Nvidia Jetson by Nvidia
- Neural Networks and Deep Learning by Michael Nielsen
- Andrew Ng's Machine Learning course on Coursera
- Deep Learning Specialization by deeplearning.ai
- How to setup Jupyter Notebook on Ubuntu 16.04 of your Nvidia Jetson TX2 developer kit
