Cool your Raspberry Pi 4 with the ICE Tower CPU Cooling Fan
As I had mentioned in why my computer restarted itself when I play League of Legends, excess heat can cause a computer to behave abnormally.
So how will your Raspberry Pi 4 Model B deal with rising heat? In case there is a spike in operating temperature, Raspberry Pi 4 will slow your CPU down significantly. When that happens, you will not be able to enjoy 4K videos on your Raspberry Pi 4 anymore.
After I did a review on the Raspberry Pi 4, I had been contemplating whether to get a cooler fan for my Raspberry Pi 4. In the midst of delayed gratification, Seeed Studio asked if I am willing to do a review on their Ice Tower Cooler. Since I wanted a cooling fan for my Pi 4, I agreed to have a look at the Ice Tower Cooler.
Given that, this post contains some points for your reference if you are pondering whether to get the ICE Tower CPU Cooling Fan for to cool your Raspberry Pi 4.
Unboxing the ICE Tower CPU Cooling Fan from Seeed Studio
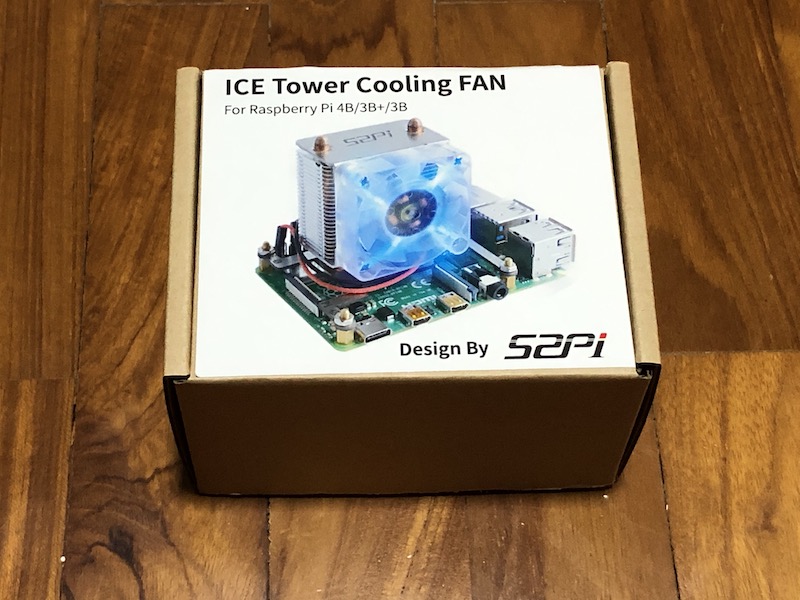
After some waiting, the Ice Tower Cooler came in a box like this:
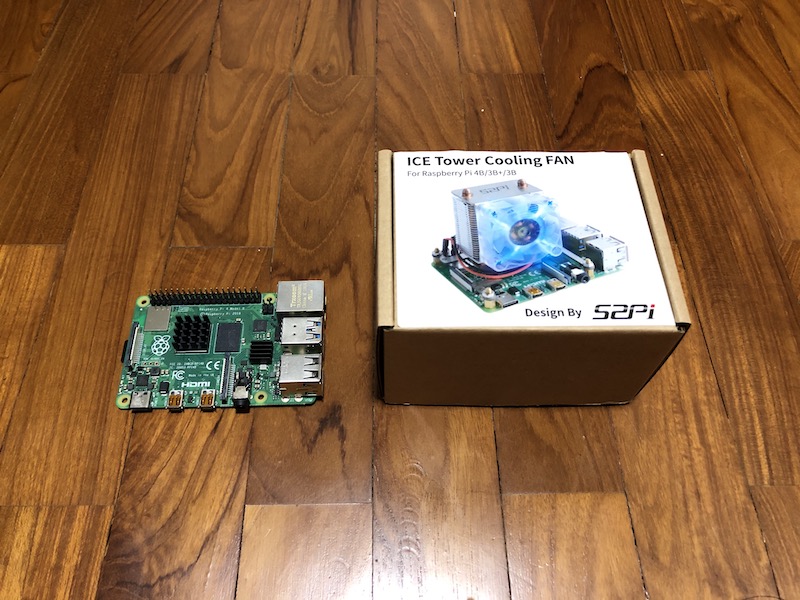
That's a rather big package, comparing it to a Pi 4 at the side:
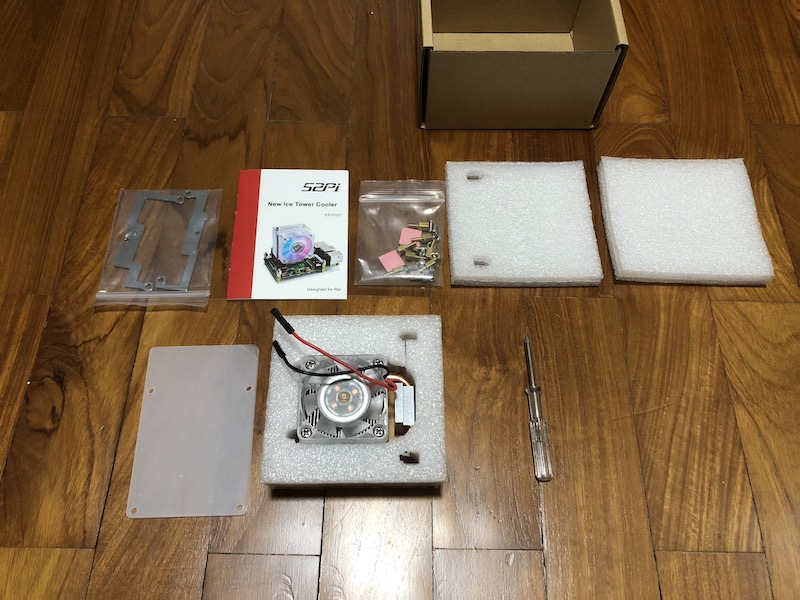
When I took out everything from the box, I got the following contents:
Can you use the ICE Tower CPU Cooling Fan with Pi 3B+?
In case you have a Raspberry Pi 3B+, you can use the ICE Tower CPU Cooling Fan to cool your Pi 3B+ as well:

Assembling the ICE Tower CPU Cooling Fan to your Raspberry Pi 4 Model B
So how can we assemble the ICE Tower CPU Cooling Fan to our Raspberry Pi 4 Model B?
Since we have an instruction manual, we can follow it to assemble the the cooler to our Raspberry Pi 4 Model B:

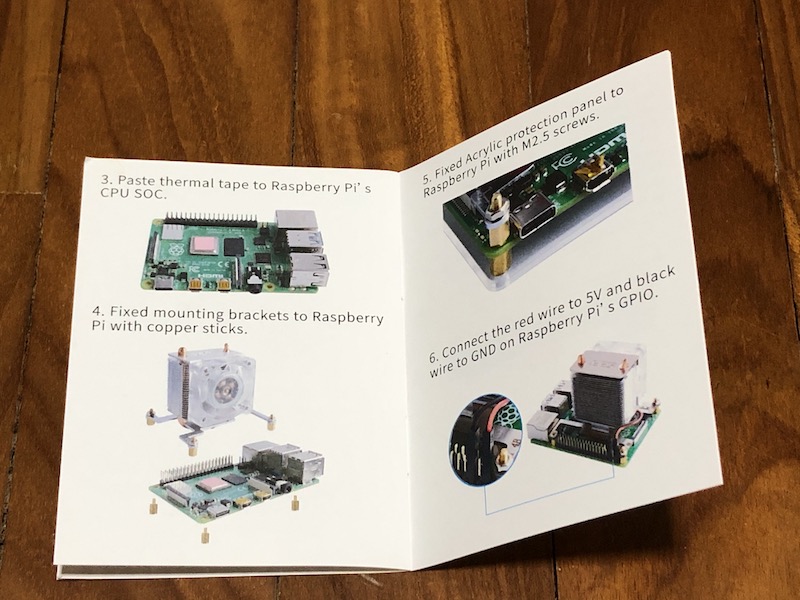

If you wish to use heat sinks below the ICE Tower CPU Cooling Fan, then you can use 2 copper sticks at the 4 corners of the mounting brackets:
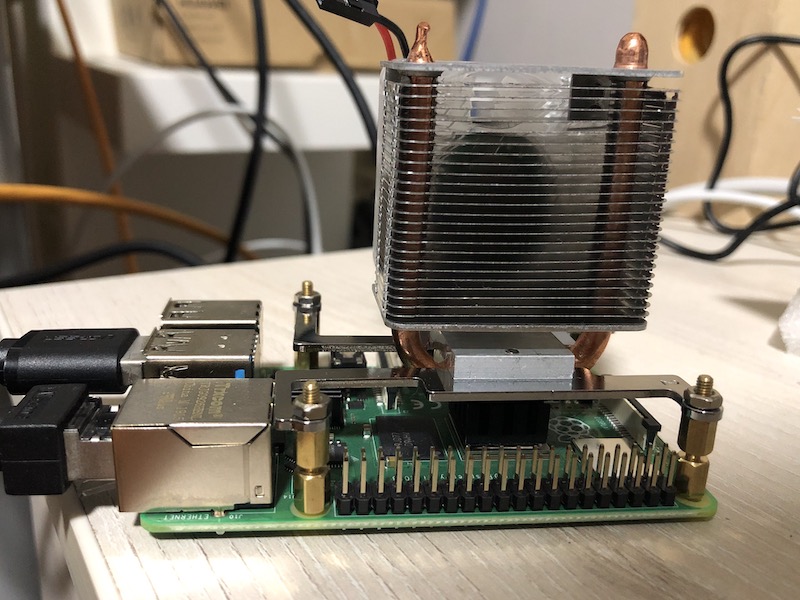
Getting a sense of how effective the ICE Tower CPU Cooling Fan is in cooling your Raspberry Pi 4 Model B
So how effective is the ICE Tower CPU Cooling Fan in cooling our Raspberry Pi 4 Model B?
Since I had attached some spare Pi 3 heat sinks onto my Pi 4, I did the stress test for 2 scenarios:
- Pi 4 with just the heat sinks
- Pi 4 with heat sinks + ICE Tower CPU Cooling fan
For each situation, I stressed the CPU in 30 seconds intervals. After that, I recorded the temperature taken over 12 iterations.
In addition to these points, I performed the stress test in a room temperature of 22 Degree Celsius.
Using Raspbian Buster as the operating system to perform the stress test
Since I had setup Raspbian Buster on my Raspberry Pi 4 Model B previously, I used that as that setup to perform the stress test.
Installing the stress tool on Raspbian Buster
Given that I have a Pi 4 running Raspbian Buster, I then installed the stress tool by running the following command in a terminal shell:
sudo apt-get install stress
Constructing a command to stress the CPU and measure the Raspberry Pi temperature
After I had installed the stress tool, I then constructed a shell command to stress the CPU:
while true; do stress -c 4 -t 30s; vcgencmd measure_temp; done
So what does this command do?
In case you are wondering, this command runs in a loop repeatedly until we stop it. In each iteration of the loop, it uses the stress tool to stress the CPU with 4 workers spinning on sqrt() for 30 seconds. After that, it uses vcgencmd to print the temperature of the Pi.
Temperature readings of the Pi 4 with only heat sinks
First off was stressing the CPU when my Pi 4 was only equipped with the heat sinks.
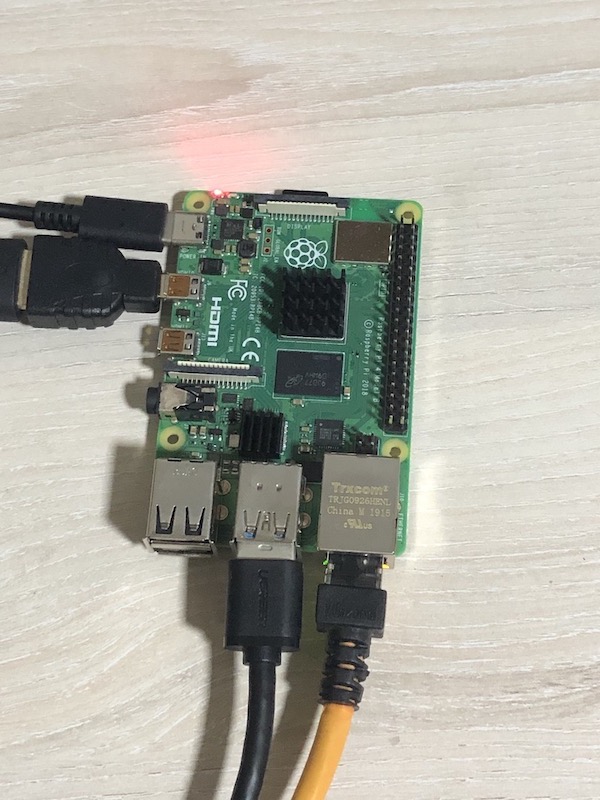
Temperature prior to running the stress test command: 52 Degree Celsius
First 12 temperature readings in Degree Celsius:
| Iteration | Temperature |
|---|---|
| 1 | 63 |
| 2 | 66 |
| 3 | 68 |
| 4 | 68 |
| 5 | 70 |
| 6 | 71 |
| 7 | 72 |
| 8 | 72 |
| 9 | 72 |
| 10 | 73 |
| 11 | 73 |
| 12 | 73 |
Temperature right after stopping the stress test: 66 Degree Celsius.
Temperature readings of the Pi 4 with heat sinks + ICE Tower CPU Cooling Fan
After ending the stress test on the Pi 4 with heat sinks, I proceeded to assemble the ICE Tower CPU Cooling Fan to my Raspberry Pi 4. In addition, I waited for another 5 minutes before switching on my Pi 4 again.
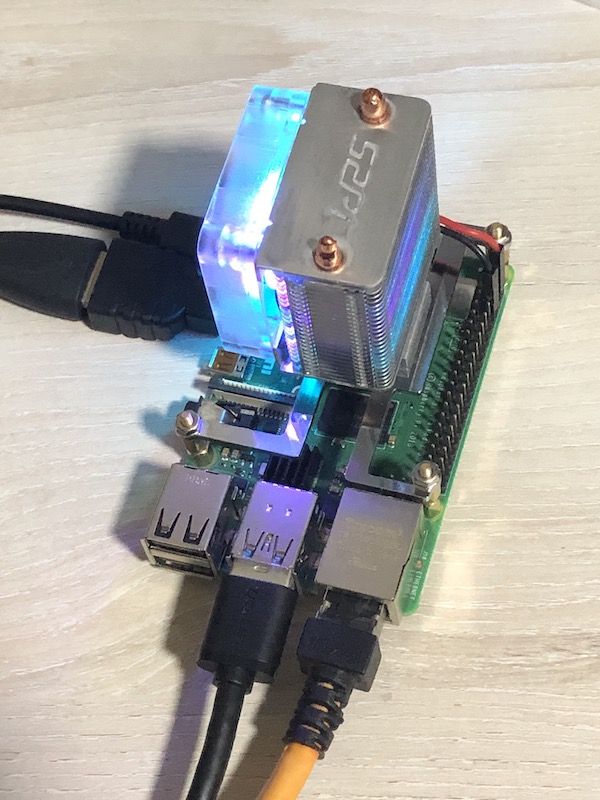
Temperature prior to running the stress test command: 38 Degree Celsius
First 12 temperature readings in Degree Celsius:
| Iteration | Temperature |
|---|---|
| 1 | 53 |
| 2 | 55 |
| 3 | 56 |
| 4 | 56 |
| 5 | 58 |
| 6 | 58 |
| 7 | 58 |
| 8 | 59 |
| 9 | 60 |
| 10 | 60 |
| 11 | 59 |
| 12 | 59 |
Temperature right after stopping the stress test: 55 Degree Celsius.
In conclusion
Although this post did not include a stress test of the CPU without any heatsinks, we could already see the cooling effects of the ICE Tower CPU Cooling Fan.
When my Pi 4 had just the heat sinks, the temperature was on a rising trend. After I had installed the ICE Tower CPU Cooling Fan, the temperature did not go past 60 Degrees Celsius in the first 12 iterations of the stress test.
What was not shown was that I could hardly notice the fan spinning as it was very quiet even when I had connected it to one of the 5V pins on my Pi 4.
Even though the ICE Tower CPU cooling fan did keep the temperature of my Pi 4 in check, my Pi 4 looked more clunkier. If you need a more compact solution, then you may want to look for another cooling fan solution.
When you want a case for your Pi 4 with the ICE Tower CPU cooling fan, you can also purchase one of the ICE Tower cooling cases from SeeedStudio.
