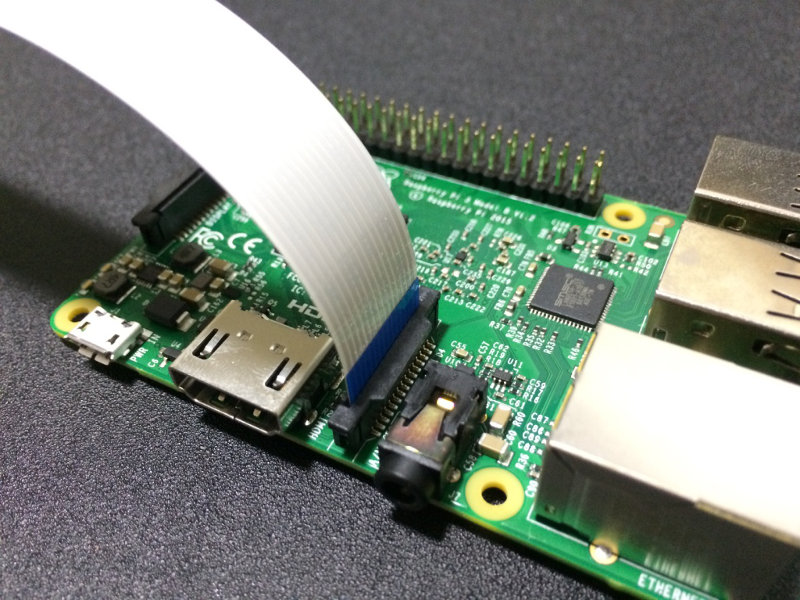
How to connect the Raspberry Pi Camera Module to Raspberry Pi 2 or Raspberry Pi 3
Since the Raspberry Pi camera module connects to most of the recent Raspberry Pi boards via the camera serial interface (CSI), the Raspberry Pi camera module is an ideal peripheral for implementing Raspberry Pi based projects that require image capturing.
This post documents how to connect a Raspberry Pi camera module to a Raspberry Pi 3.
Parts to be assembled together
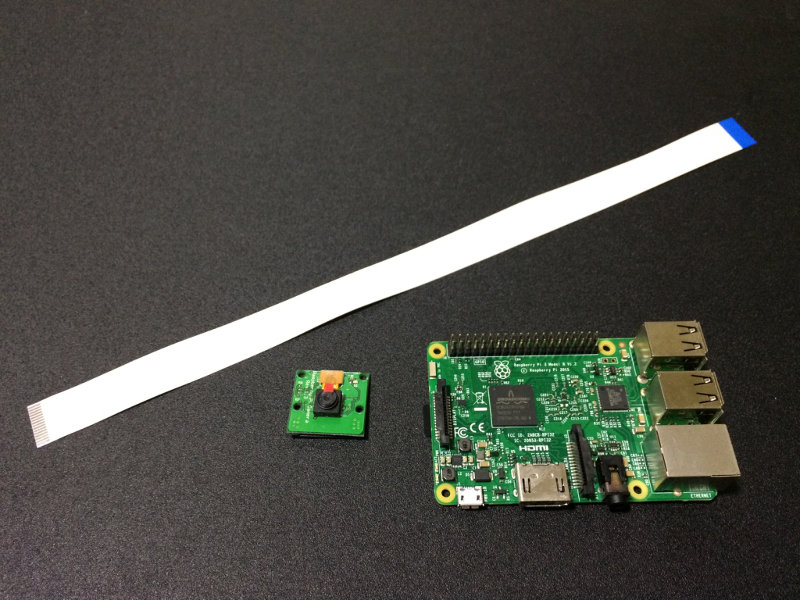
The following is the list of parts that are used for the purpose of this post:
The instructions listed in this post are applicable to a Raspberry Pi 2 board with any of the following Raspberry Pi Cameras:
Connecting the Flex cable to the Raspberry Pi Camera Module
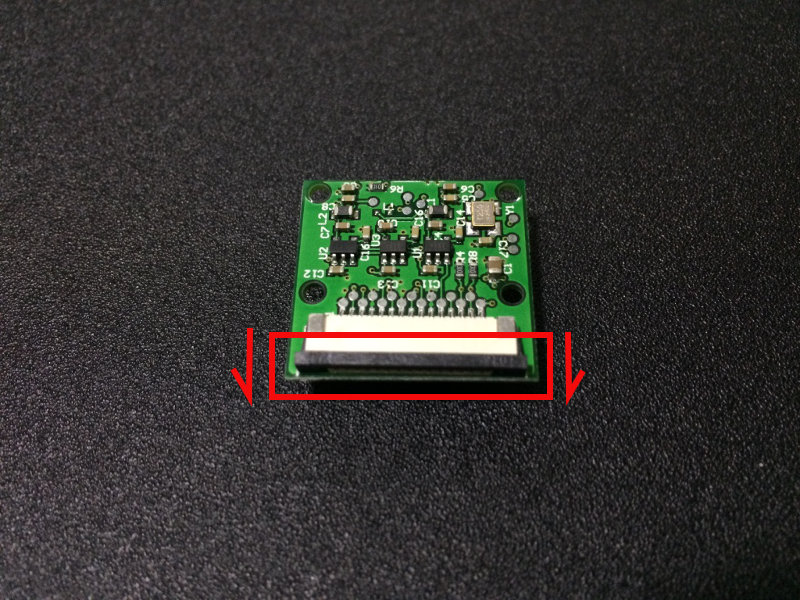
To connect the Flex cable to the Raspberry Pi Camera Module, we first pull the black connector downwards:
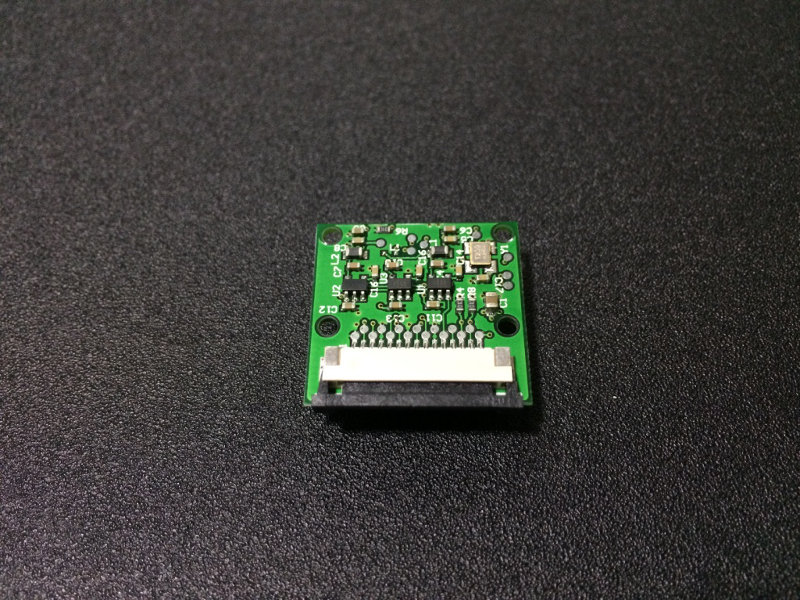
A loosened camera connector will look like the following:
With the cable connector loosened, we then insert the Flex cable and push up the camera connector to fasten the Flex cable to the camera module:
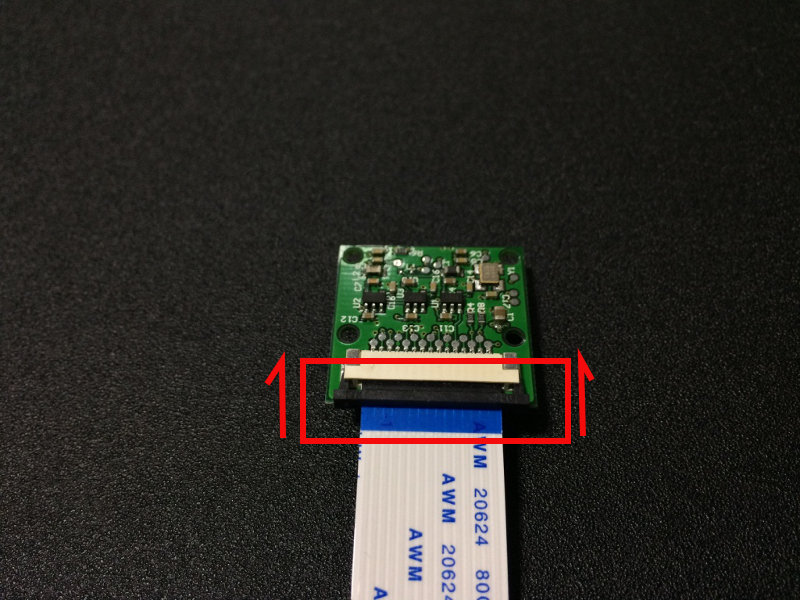
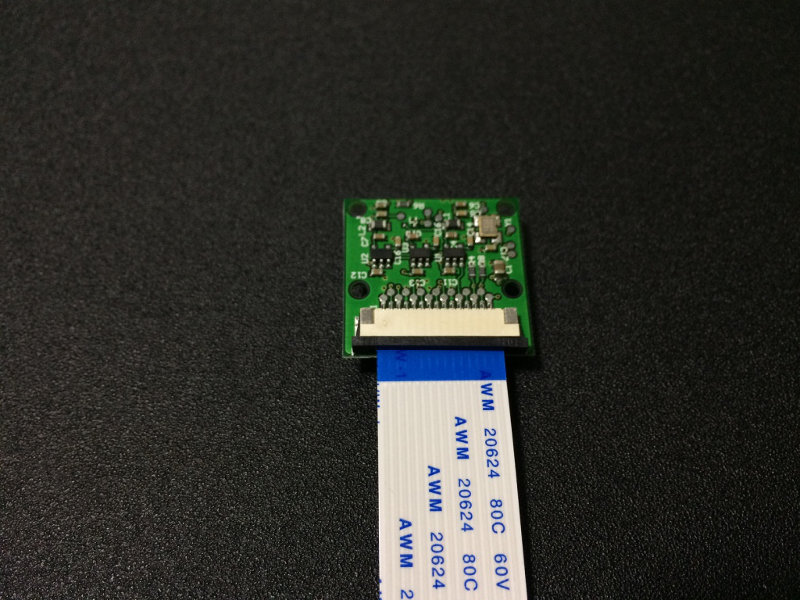
A fastened camera connector with Flex cable looks like this:
Connecting the other end of the Flex cable to the CSI connector on the Raspberry Pi 3 board
Once we had connected the Flex cable to the Raspberry Pi Camera module, we can proceed to connect the other end of the Flex cable to the CSI connector on the Raspberry Pi 3 board.
The following picture highlights the CSI connector on the Raspberry Pi 3 board which we need to connect the Flex cable to:
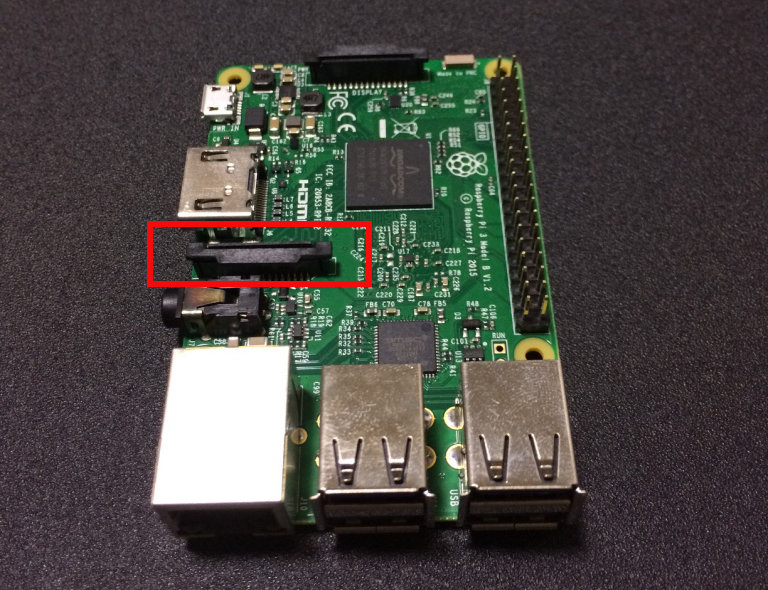
We first loosen the CSI connector on the Raspberry Pi 3 board:
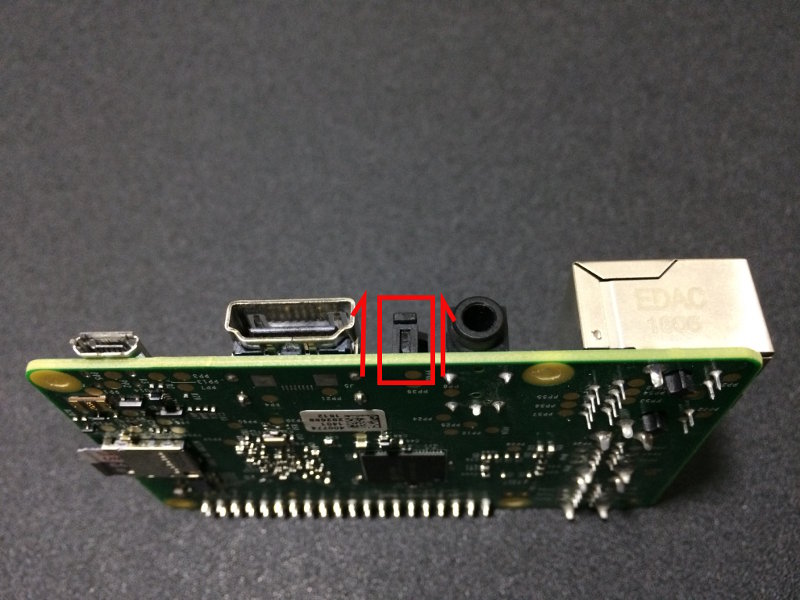
A loosen CSI connector on the Raspberry Pi 3 board will look like the following:
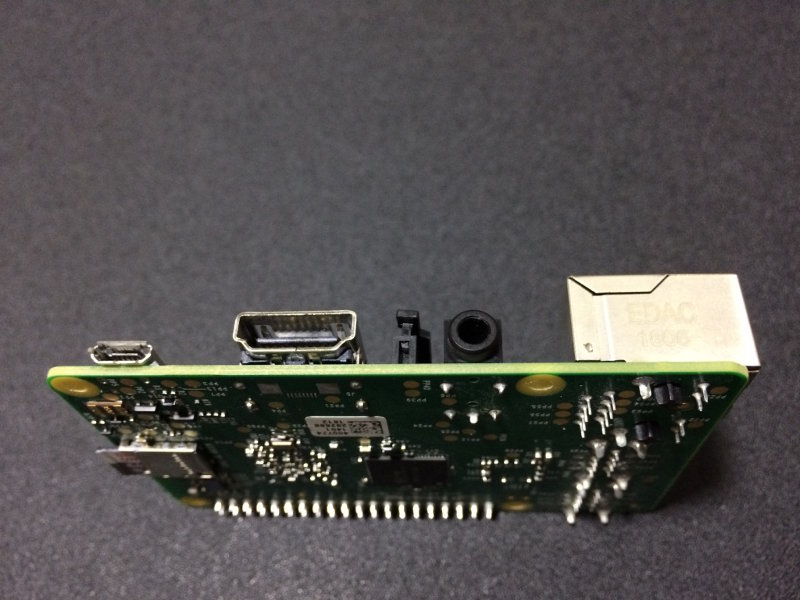
With the CSI connector on the Raspberry Pi 3 loosened, insert the Flex cable into the connector and push down the connector clip:
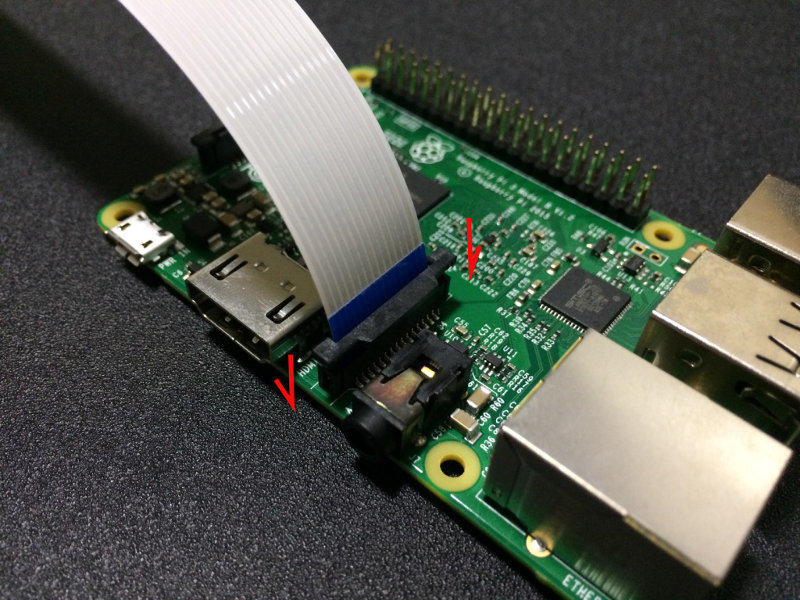
A fastened CSI connector with Flex cable looks like this:
