Quick References

As a constant learner, I get to touch upon many ideas in different areas. This category is for me to capture those ideas which I felt people may reference to get ahead of their tasks. Most of the time, I do come back to this section of my blog to remember what I had learnt in the past.

Understanding the default Nginx virtual host (or server) configuration

After you had installed Nginx, one of the first thing to do is to check whether it is running ok.

One way to do so is to use your browser to send a HTTP request to test it.

If you had installed Nginx on your local machine, then you may enter http://localhost or http://127.0.0.1 into the location bar of your browser.

When you had setup Nginx on a separate machine on your home network, you may also enter http://<ip_address_of_the_machine> in the location bar of your browser. For example, in how to host a WordPress website on a Raspberry Pi with Raspbian Buster Lite and Nginx, I had entered http://192.168.1.114 as the location to test out the Nginx server running on my Raspberry Pi.

So be it http://localhost, http://127.0.0.1, http://<ip_address_of_the_machine>, you will always see this page on your browser screen:
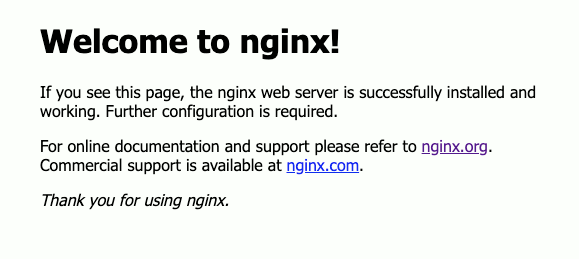
default welcome page of Nginx 1.14.2

In case you are wondering why your Nginx behaves this way, this post will explain what the default Nginx Virtual Host configuration does to Nginx.

How to host a WordPress website on a Raspberry Pi with Raspbian Buster Lite and Nginx

If you are thinking of starting a blog about computer technology, then you can consider hosting a WordPress website on your Raspberry Pi.

Since Raspberry Pi is a capable machine that does not take up too much space and power, it is a good as a web server.

In addition, if you have an Internet subscription that does not block port 80 and 443, hosting a WordPress at home can be cost effective.

Given these points, let’s look at how we can host a WordPress website on a Raspberry Pi with Raspbian Buster and Nginx.

How to create a Carousel in WordPress with Slide Anything

When you have been adding content to your website for some time, you may notice two things:

  1. There are many pages that are never visited in months or even years.
  2. The home page will always have page views.

Given these points, the home page is one place where you have the chance to promote pages that are rarely seen organically.

If your website is realised by polyglot stack, then you will find the Slide Anything plugin useful for creating a Carousel for your WordPress instance.

Given that, this post shows how you can create a Carousel in WordPress with Slide Anything.

Sample Slide Anything WordPress Carousel on Techcoil home page

Installing Certbot on Raspbian Buster for obtaining Let’s Encrypt’s browser-trusted certificates for your Raspberry Pi server applications

Certbot + Raspbian logo

When you build Raspberry Pi server projects with Raspbian Buster, browser-trusted certificates can be needed.

Since the inception of Let’s Encrypt, many webmasters had been able to deploy web applications that encrypt communication channels with browser-trusted certificates.

Most importantly, Let’s Encrypt provide all the magic for free.

Let’s Encrypt certificates are automatically issued by software participating in the ACME protocol. Therefore, we will need to run such a software on a Raspberry Pi web server for serving HTTPS with browser-trusted certificates.

Given that, let’s see how we can install Certbot on Raspbian Buster.

How to setup Raspbian Buster Lite for Raspberry Pi server projects

When I did a review for Raspberry Pi 4 Model B, the idea of using the Pi 4 for server applications is clear.

Since Raspbian Buster Lite was released alongside the Pi 4, we can use it for new Raspberry Pi server projects.

If you are thinking of building Raspberry Pi server projects, then you may want to follow through this article to help you get started.

How to setup Raspbian Buster for your Raspberry Pi 4 Model B

Since the Raspberry pi 4 Model B comes with several nice upgrades, it is a single board computer that you may want to get.

After you got your Raspberry Pi 4 rig and microSD card, the next step will be to setup an operating system.

At this point in time, you may want to install one of the Raspbian Buster images that got released for the Pi 4.

With that in mind, read on to learn how to setup Raspbian Buster for your Raspberry Pi 4 Model B.

A review of the Raspberry Pi 4 Model B from a not-so-early adopter

When a single board computer has 4GB of RAM, you can use it as a capable IoT gateway or desktop computing. In addition to that, the Raspberry Pi 4 Model B maintains the same dimensions as its credit card sized predecessor, the Pi 3B+.

Although there are several single board computers which provided 4GB of ram, they are priced more than the US$55 price tag. Given that, the Raspberry Pi 4 Model 4 with 4GB of ram is a very attractive offering.

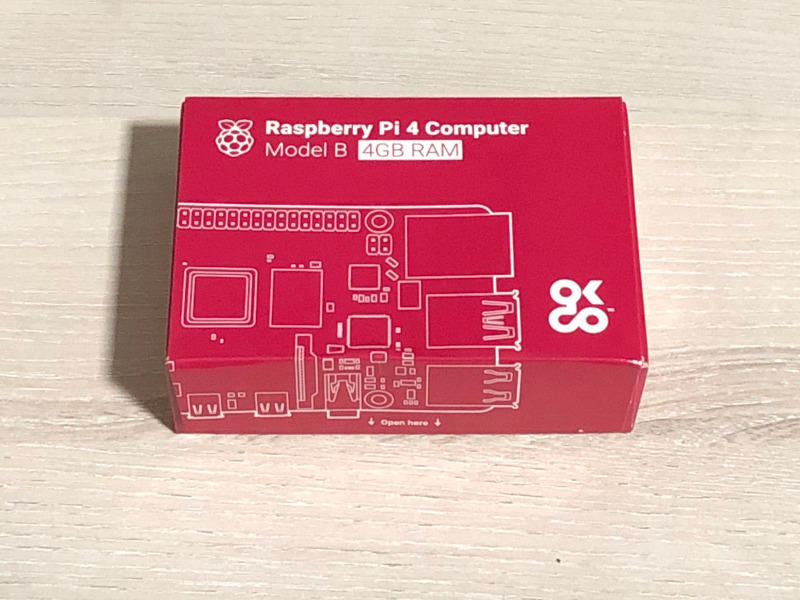
Raspberry Pi 4 Computer Model B 4GB edition in box

In case you are wondering whether you should buy the Raspberry Pi 4 Model B, read on for more perspectives.

How to start a blog about computer technology

Previously, I wrote about why programmers should blog. When you are convinced that you should blog as a programmer, you may wonder how to start a blog.

In order to have a place to refer people who wants to learn more about this topic, I write my experience in this article.

Given that in mind, this is how you can start a blog about computer technology.

How to setup a small and powerful computer with Ubuntu 19.04 Desktop and Odroid H2

After implementing some easy and effective ways to make money with my website, I was able to earn some budget for a developer’s machine.

So what is a single board computer that is small and powerful?

After doing some research, I set my eyes on the Odroid H2.

Once I had received all the hardware components, I proceeded with setting up Ubuntu 19.04 Desktop on my Odroid H2.

In case you need a reference, this is how you can setup Ubuntu 19.04 Desktop on an Odroid H2.